How to configure SMTP in Wordpress
How to Send Emails Using Wordpress SMTP

Users Need to Know About WordPress SMTP Email Settings
By default, WordPress uses the PHP mail perform to handle its email process. Despite so, this feature isn’t the most effective approach for causation emails. As a non-native email service, WordPress’ email feature tends to fail the spam tests pass internet hosting suppliers and standard email services.
Consequently, emails sent from WordPress websites typically get blocked or find yourself within the spam folder.
For this reason, it’s counseled for WordPress users to utilize the easy Mail Transfer (SMTP) protocol. it'll increase your deliverability rate and assist you to manage the general email traffic within the long haul.
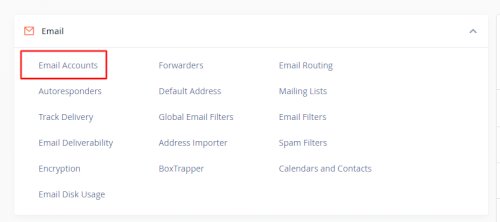
STEP 1. Login to your Control Panel (Cpanel).
STEP 2. Go to 'EMAIL ACCOUNTS'
STEP 3. Create a New Account or Use an existing Email if you know the credentials of your Webmail.
Check this guide to know how to create an email account:- https://onohosting.com/blog/how-to-createlogin-in-webmail-account
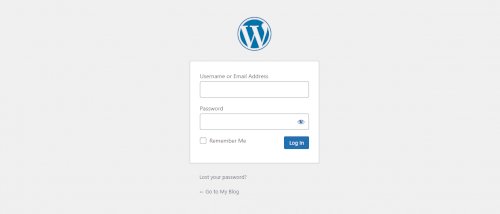
STEP 4. Now log in to your Wordpress Dashboard or Wordpress Admin Panel.
STEP 5. Navigate to the Plugins > Installed Plugins page >> Add new

a) In the WordPress dashboard, click Plugins > Add New in the left pane.
b) Search for wp-mail-SMTP. It can also be found here.
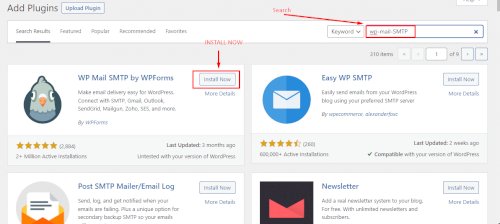
c). Click the Install button, then Activate.
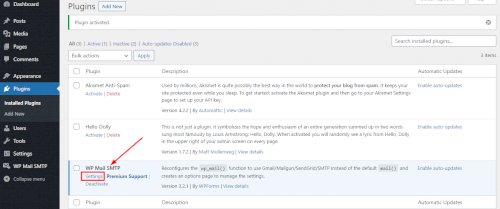
STEP 6. After installed and activated, navigate to the Plugins section in your WordPress dashboard or Wordpress Admin Panel.
- Click the Settings link under the plugin.
Firstly, you will get the Setup Wizard page. This is a quick way to configure your settings.
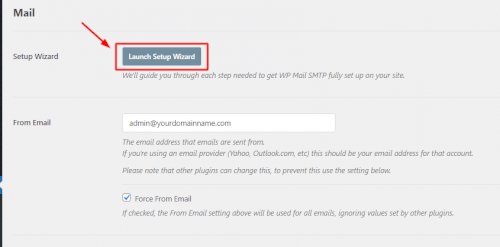
- Navigate to the WP MAIL SMTP > Settings page
- Click the Launch Setup Wizard button.
- Click the Let's Get Started button.
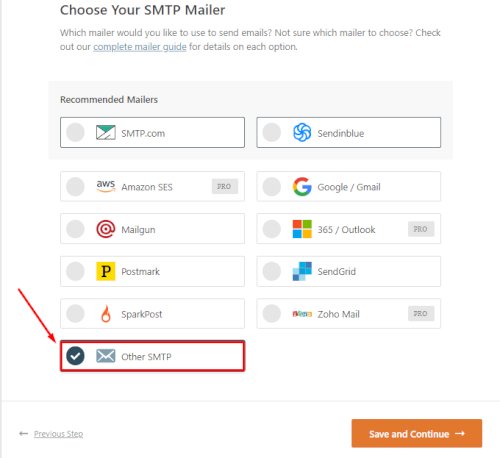
- Select Other SMTP. Click Save and Continue.
The next page lists all of your configuration options.
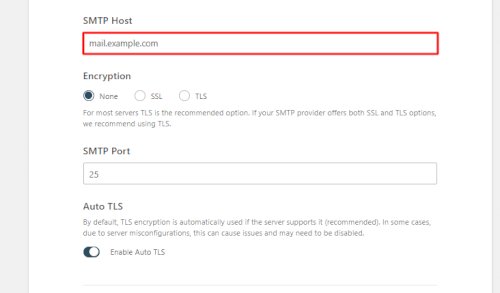
STEP 7. SMTP settings.
- SMTP Host - Enter mail.example.com (Put your domain name instead of Example.com)
- Encryption - None
- SMTP Port - 25
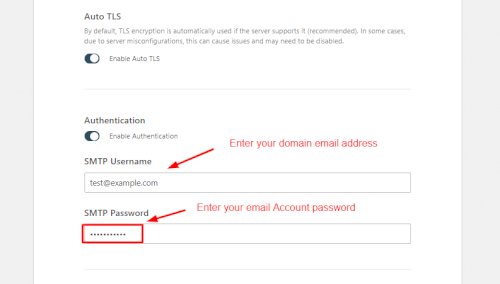
- Enable Authentication - toggle this option
- SMTP Username - add your Domain email address (test@example.com)
- SMTP Password - enter the password for your Domain email address.
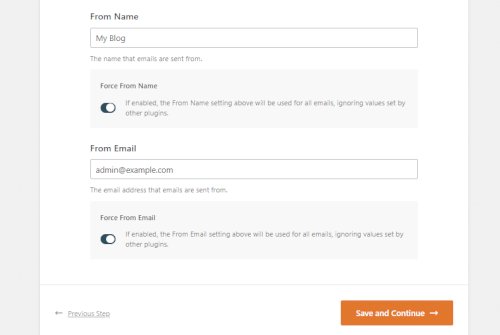
- From Name - Enter a name you'd like to appear as being sent FROM
- From Email - Enter the email you wish to send FROM
- Click Save and Continue.
- The next page lists some additional features you could enable with the Pro version. Click Save and Continue.
- The next page allows you to add your email address to receive recommendations on how to optimize your email delivery. Click Skip this Step or Save and Continue.
- The next page asks you to enter your license key if you purchased the Pro version.
- The final page checks your configuration
When the check completes, a success message displays to confirm your email is configured.
Final Steps.
Testing the plugin
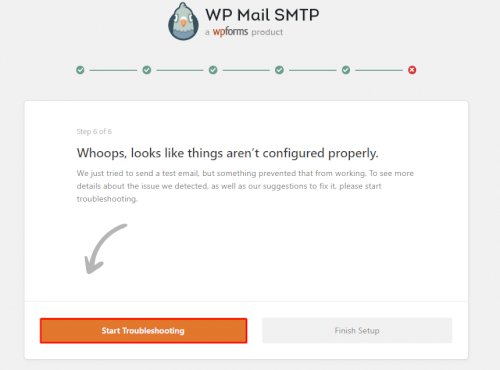
Click on START TROUBLESHOOTING
OR
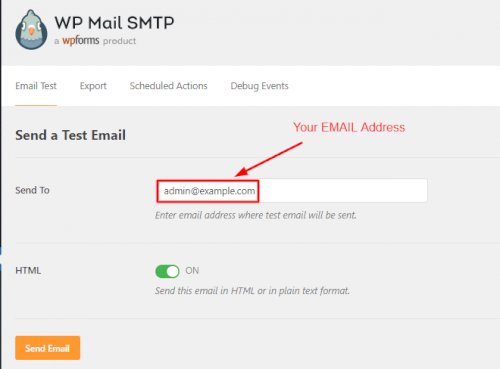
Click on Finish Setup & Scroll to the top and click the Email Test tab. Click the Send Email button to test. You should see it was sent successfully.
If you are getting Some errors while sending the Test emails then you have to create DMARC records in your Control Panel.
What Is a DMARC Record?
A DMARC record may be a TXT record that defines your DMARC rulesets. The DMARC record instructs a site what it ought to do if an associate degree email message fails to deliver because of authentication problems.
Using DMARC records, you'll be able to manage if the mailing server ought to reject, quarantine, or do nothing with a message that has unsuccessful authentication.
So if you produce DMARC records, you'll be able to manage however you wish your unsuccessful messages to be treated by mailing servers.
DMARC Record Example
A typical DMARC record contains at least three important components (or tag-value pairs). Consider this example record:
v=DMARC1; p=none; rua=mailto:dmarc@yourdomain.com
Here, we have three tags: v, p, and rua which have the values DMARC1, none, and mailto:dmarc@yourdomain.com.
How to Add a DMARC Record
Here are the few steps to create DMARC Records.
- Login to your Control panel or Cpanel
- Navigate to the 'Domain' Section mentioned in the above Screenshot.
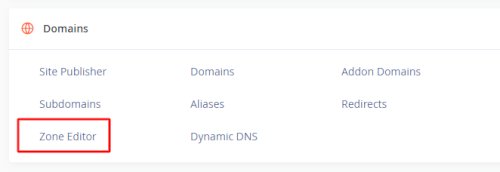
- Click on 'ZONE EDITOR'
The next page allows you to add records like MX, TXT, A, CNAME.

4. Now click on 'Add "TXT" Record'
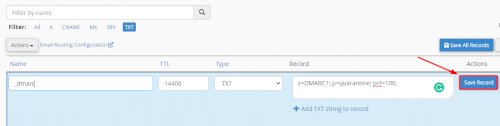
Name :- _dmarc.yourdomainname.com
Type :- TXT
Value :- v=DMARC1; p=quarantine; pct=100;
5. Now click on 'SAVE RECORD'
And that’s it! Now you added a DMARC record to your DNS.
You can also use 'WP Mail SMTP' to send another test email from WordPress. This will automatically run a fresh check on your DNS and look for your DMARC record.
If you added everything correctly, you’ll now see a pass message like this:
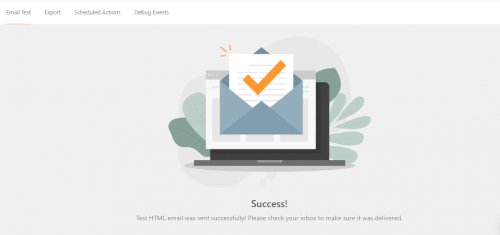
Scroll to the top and click the Email Test tab. Click the Send Email button to test. You should see it was sent successfully.