How to upload website data in file manager (Direct Admin Panel)
wordpress,Directadmin,File manager
 Onohosting
Feb 9, 2021 - 06:55
Updated: Feb 26, 2021 - 14:55
0
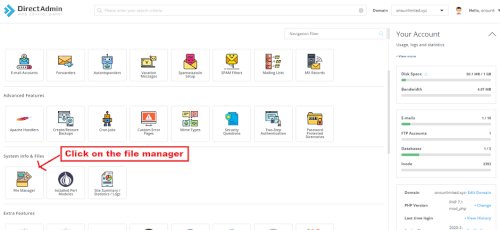
Step: 1 Log in to your DirectAdmin panel, click on file manager for uploading website data files
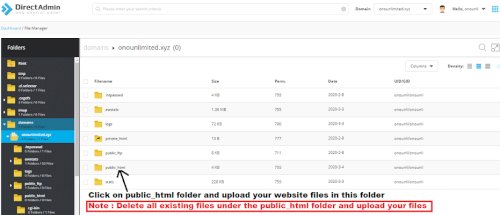
Step: 2 Find the Public_html folder of your domain
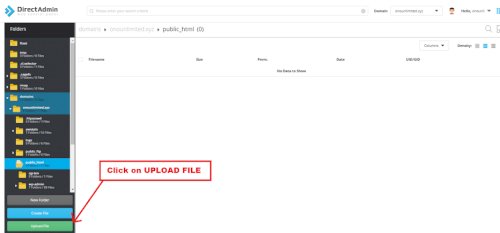
Step: 3 Check the UPLOAD FILES button in the bottom left and click on it
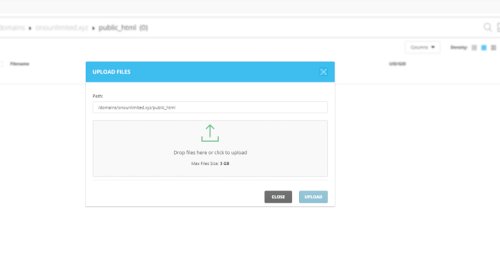
Step: 4 Now upload your files here in zip format
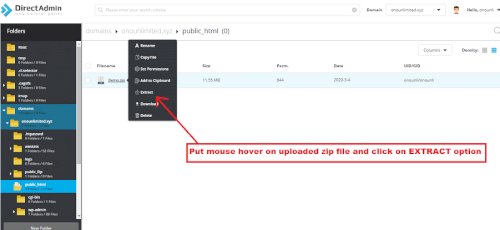
Step: 5 Now Extract your uploaded zip file
How to upload SQL database files
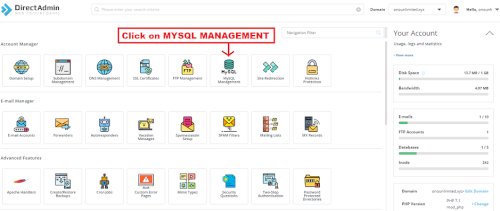
Step: 1 Click on MYSQL MANAGEMENT in your direct admin panel dashboard
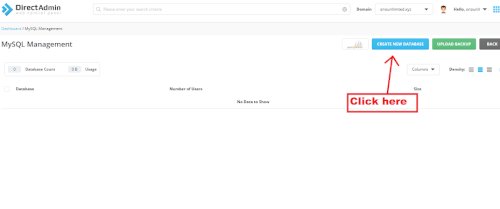
Step: 2 Click on create a new database
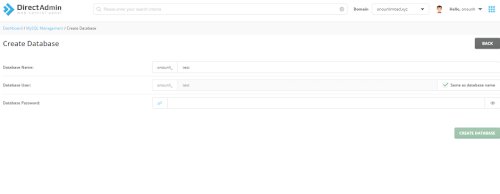
Step: 3 Now create a database using username & password
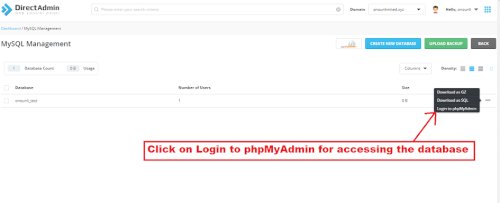
Step: 4 Now Click on Login to phpMyAdmin
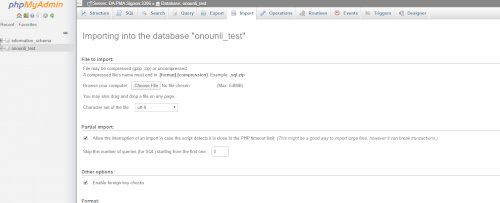
Step: 5 Now upload your SQL file here
Note: After uploading the website files and SQL file customer have to connect the database to your files with the help of your web developer.